When installing a bathroom exhaust fan, the single most important decision is where to put it. The goal is to capture the most humid air quickly and expel it outdoors with the shortest, straightest duct run. This guide walks through the key considerations, from locating the fan over the shower to verifying attic clearance before cutting any holes.
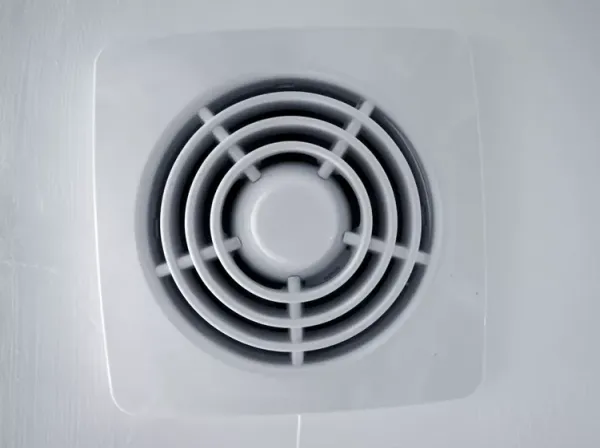
Bathroom vent fans serve a critical role: they remove excess moisture generated during baths and showers. Without one, steam and condensation can lead to mold, mildew, and water stains on ceilings, walls, and floors. Fans also help clear fogged mirrors and prevent musty odors.
While building codes may not mandate an exhaust fan if a window is present, experts recommend installing one for year-round comfort. Opening a window in extreme heat or cold can be uncomfortable and less energy-efficient than using a fan.
Positioning Over the Moisture Source
The fan should be placed in the area of the bathroom that experiences the most moisture—typically directly above the bathtub or shower. It doesn't have to be centered over the tub; anywhere near the bathing area is sufficient. If the bathroom has both a tub and a separate shower, or a whirlpool tub, position the fan somewhere between the two fixtures to capture moisture from both.
If the bathing area is enclosed in its own room, that room needs its own fan. You may also want to add a second fan for the main bathroom area or near the toilet to handle odors and humidity from other sources.
Planning the Duct Route
Bathroom exhaust fans must vent to the outside—through the roof or an exterior wall. The duct should take the shortest and most direct path to the vent cap. Ideally, the fan unit should be within 6 feet of the exterior vent to maintain efficiency and reduce condensation buildup inside the duct. Longer runs make the fan less effective and increase the risk of moisture problems.
Venting can be done through the roof, a gable wall, or even a soffit with a special vent cap. However, avoid venting through a side wall directly below a soffit (the eave overhang), as rising moist air can become trapped under the overhang.
Checking the Attic Before Cutting
Before making any cuts, head into the attic with a tape measure to scout the location from above. Use an exterior wall, plumbing vent pipe, or electrical boxes as reference points to orient yourself relative to the bathroom fixtures below. Having a helper measure from inside the bathroom and communicate via cell phone can improve accuracy.
Ensure the fan can be installed between two ceiling joists and that there is enough room to connect the fan housing to the duct. Also, confirm that the vent cap will be clear of roof obstructions such as valleys, skylights, chimneys, or furnace and water heater vents.
Drilling a Locator Hole
Before cutting the ceiling hole for the fan housing, drill a small pilot hole through the ceiling material at the center of the chosen location. Return to the attic to verify that the spot is clear of plumbing and wiring. This method is more accurate than measuring from nearby features. Use the same technique when cutting a hole for the exterior vent cap.
Proper placement and ductwork are essential for a bathroom fan to function effectively. By following these steps, you can ensure your fan removes moisture efficiently and protects your home from humidity-related damage.