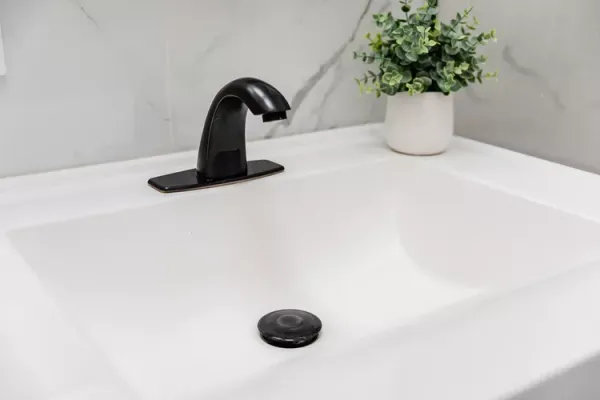
Replacing a pop-up drain stopper in a bathroom sink is a common DIY task that can fix leaks and refresh the look of a vanity. The job typically takes 30 minutes to an hour, requires only basic tools, and costs between $20 and $50 for parts. While most installations proceed smoothly, variations in sink fixtures can occasionally complicate the process, so it helps to understand the components and steps involved.
Before starting, always turn off the water supply using the shut-off valves under the sink—usually one for hot and one for cold. These are typically round or oval knobs. Having a bucket on hand is also wise, as water may remain in the P-trap when you disconnect it.
Choosing the Right Stopper
Pop-up stoppers come in a range of finishes and materials, allowing you to match the visible drain ring to your faucet hardware. The lower assembly is often made of durable metal or less expensive plastic. While professional plumbers may prefer metal for longevity, plastic assemblies are generally acceptable for DIYers, though they can be prone to breakage if the nuts are over-tightened.
There are two main types of pop-up stoppers. Traditional designs use a lift rod, pivot rod, and internal ball to raise and lower the stopper. Spring-loaded versions, similar to those used in bathtubs, operate by pushing down on the stopper to lock it closed and pushing again to release it. These are simpler to install but require reaching through standing water to drain the sink.
Step-by-Step Installation
Begin by removing the old drain assembly. Loosen and detach the P-trap from the branch drain and tailpiece using channel-type pliers—some traps can be unscrewed by hand. Position a bucket underneath to catch any water. Extract the old pop-up linkage, then unscrew the mounting nut from the tailpiece and lift the entire drain assembly out of the sink. Clean the sink opening thoroughly to remove old plumber's putty and debris.
Next, prepare the new pop-up assembly. Disassemble the pieces, unscrew the mounting nut from the tailpiece, and slide the plastic and rubber washers into place. Apply a thin layer of pipe joint compound to the top of the rubber washer that will sit against the sink; this helps create a watertight seal. Some installers skip this step, but it can prevent leaks.
For the upper flange, roll a generous bead of plumber's putty into a rope and press it around the underside of the drain ring. Plumber's putty remains soft and provides a flexible seal. Alternatively, silicone caulk or a foam/rubber gasket can be used if included with the assembly.
From under the sink, push the tailpiece up through the drain opening, then from above, thread the drain ring onto the tailpiece by hand. Be careful not to cross-thread. Once hand-tight, hold the tailpiece steady and tighten the mounting nut upward with channel-type pliers, ensuring the opening for the pivot rod faces the wall. Avoid over-tightening, which can crack plastic parts.
Insert the pop-up stopper into the drain, aligning its linkage hole toward the back. From below, slide the pivot rod through the opening in the tailpiece, feeling for the stopper linkage. Secure the pivot rod nut hand-tight, then test the action. If the stopper moves stiffly, the nut is too tight and should be loosened slightly.
Attach the vertical pop-up lever through the hole behind the faucet spout, making sure the stopper is fully open. Connect the horizontal pivot rod to the vertical lever using the connecting strap, and tighten the screw. Adjust the spring clip as needed so the stopper opens and closes fully.
Finally, reconnect the P-trap and run water to check for leaks. Close the stopper, fill the sink, then release and watch for drips. Tighten any leaking connections gently with pliers.
When to Call a Professional
If you're uncomfortable working with plumbing or if your pipes are old and corroded, it's wise to call a plumber. Older plumbing can be brittle and prone to breaking, leading to costly repairs. A professional can also handle installations where the vanity top is removed, making access easier.
In many cases, replacing just the stopper is possible without replacing the entire assembly. Standard bathroom sink drains are 1 1/2 inches across, but sizes vary, so measure yours to ensure a proper fit. With the right parts and careful attention, most homeowners can complete this project successfully.