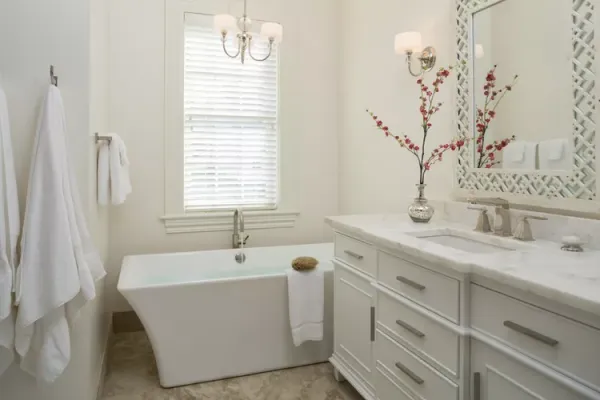
Replacing a bathroom vanity is one of the most impactful upgrades a homeowner can tackle, yet the first hurdle is often removing the old fixture. The process, which typically takes 45 minutes to an hour and a half, involves disconnecting water supply lines, removing the drain trap, and carefully lifting the cabinet away from the wall. With basic tools and a methodical approach, even a beginner can handle the job without professional help.
The task begins with preparation. Before any wrench is turned, it's wise to inspect the condition of the shut-off valves, the P-trap, and the supply lines. These components can degrade over time, and with the vanity out of the way, it's an opportune moment to replace them if they show signs of wear. In rare cases where a vanity was built in place or installed before other fixtures, removing it intact may be impossible; a reciprocating saw with a demolition blade can cut the cabinet into sections for easier removal.
Step 1: Shut Off Water and Remove Doors
Start by removing the vanity doors from their hinges. This not only lightens the cabinet but also provides better access to the plumbing. Next, turn off the water supply to the faucet by closing the fixture shut-off valves, which are typically located beneath the sink on the hot and cold supply tubes. Turn each valve fully clockwise. If the faucet lacks shut-off valves or they fail to stop the water, locate the home's main water shut-off and turn it off. Once the water is off, open the faucet to release any residual pressure and drain the lines.
With the water off, disconnect the supply tubes from the shut-off valves. Place a bucket underneath to catch any remaining water. Use an adjustable wrench to loosen the compression nuts, turning them counterclockwise. If water continues to seep from the valve even when closed, the valve may need replacement—another task best done while the vanity is removed.
Step 2: Remove the Drain Trap
Position a bucket under the P-trap to catch standing water. The trap assembly consists of a tailpiece, a U-shaped bend, and a trap arm leading to the wall drain. Loosen the two outermost slip nuts—one on the tailpiece and one at the wall end—using channel-lock pliers if necessary. Slide the nuts off and carefully remove the trap, dumping any water into the bucket. Immediately stuff a rag into the wall pipe to block sewer gases from entering the room.
Step 3: Detach the Countertop and Cabinet
If the mirror rests on the countertop or backsplash, consider removing it to prevent breakage. Use a sharp utility knife to cut through caulk along the wall and between the countertop and cabinet. Check underneath the countertop for clips or brackets securing it to the cabinet; unscrew them if present. Lift the countertop's front edge—if glued, you may need to pry it up or leave it attached and remove the whole unit together. Once the countertop is off, remove any trim and inspect the cabinet's attachment points. Most are screwed into wall studs or anchored to the floor with nails. Remove screws with a drill, and if nailed, use a flat pry bar with a wood block against the wall to avoid damage. Carefully pull the cabinet away, being mindful of any plumbing valves that may protrude through the back panel.
Final Touches
After the cabinet is out, clean residual caulk from the wall with a putty knife. If the new vanity is smaller or shorter, plan to patch and paint the wall or floor before installation. This project not only clears the way for a fresh look but also offers a chance to upgrade aging plumbing components—a small effort that pays off in reliability and peace of mind.